Every finished garment you see—whether on a runway, in a boutique, or on Instagram—starts as a simple idea. But turning that idea into a wearable piece is not magic; it’s a structured, creative, and highly technical journey.
As a fashion educator and designer, one of the most common questions I get from students is:
“How do we go from an idea to an actual garment?”
This blog breaks down the complete fashion design process from concept to garment, step by step, in a way that is practical, realistic, and aligned with how the industry actually works.
1. Inspiration & Research – Where It All Begins
Every design starts with inspiration. This could come from:
– Nature
– Architecture
– Culture and heritage
– Music, films, or art
– Personal experiences
But inspiration alone is not enough—you need to research deeply.
What to do:
– Collect visual references (Pinterest, books, field visits)
– Study textures, colors, silhouettes
– Understand the target audience
At this stage, you’re not designing yet—you’re observing and absorbing.
2. Theme & Concept Development
Once you have enough research, the next step is to define a clear theme and concept.
– Theme = Broad idea (e.g., “Urban Tribal”, “Monsoon Romance”)
– Concept = Your unique interpretation of that theme
Example:
Theme: Nature
Concept: “Decay and Rebirth through layered organic textures”
This step is crucial because it gives direction and identity to your collection.
3. Mood Board Creation
A mood board visually represents your concept.
It usually includes:
– Color palette
– Fabric swatches
– Textures
– Images and references
– Silhouettes
Mood boards are not decoration—they are decision-making tools. Every design choice later should connect back to this.
4. Client Board / Target Audience Understanding
Design is not just art—it’s also problem-solving.
You need to ask:
– Who is going to wear this?
– What is their lifestyle?
– What is their budget?
A client board includes:
– Age group
– Occupation
– Preferences
– Occasion of wear
This step ensures your design is relevant, wearable, and market-ready.
5. Fashion Illustration (Sketching Your Ideas)
Now the ideas start becoming visible.
You create fashion sketches (also called croquis-based illustrations):
– 8-head, 9-head, or 10-head croquis
– Front and back views
– Basic detailing
Don’t worry about perfection—focus on:
– Silhouette
– Proportion
– Design elements
This is where creativity meets communication.
6. Design Development & Detailing
Your rough sketches now evolve into final designs.
You refine:
– Necklines
– Sleeves
– Cuts and panels
– Surface design (prints, embroidery, textures)
You also create:
Flat sketches (technical drawings)
– Add measurements and construction details
This step bridges creativity and production.
7. Fabric Selection & Material Sourcing
Choosing the right fabric can make or break your design.
Consider:
– Fabric behaviour (flowy, stiff, stretchable)
– Texture and finish
– Season and comfort
– Cost and availability
For example:
– Structured jacket → heavier fabric
– Summer dress → breathable cotton
A good designer doesn’t just design—they understand fabric deeply.
8. Pattern Making – The Blueprint Stage
Pattern making is the technical foundation of garment construction.
You convert your design into 2D patterns using:
– Body measurements
– Standard size charts
– Drafting techniques
Types of patterns:
– Basic blocks (bodice, sleeve, skirt)
– Manipulated patterns (dart manipulation, fullness, gathers)
This is where design becomes mathematically accurate.
9. Sampling & Prototype Development
Before final production, you create a sample garment.
This helps you check:
– Fit
– Fall
– Construction issues
– Design accuracy
Most designers go through multiple samples before finalizing.
This stage saves you from costly mistakes later.
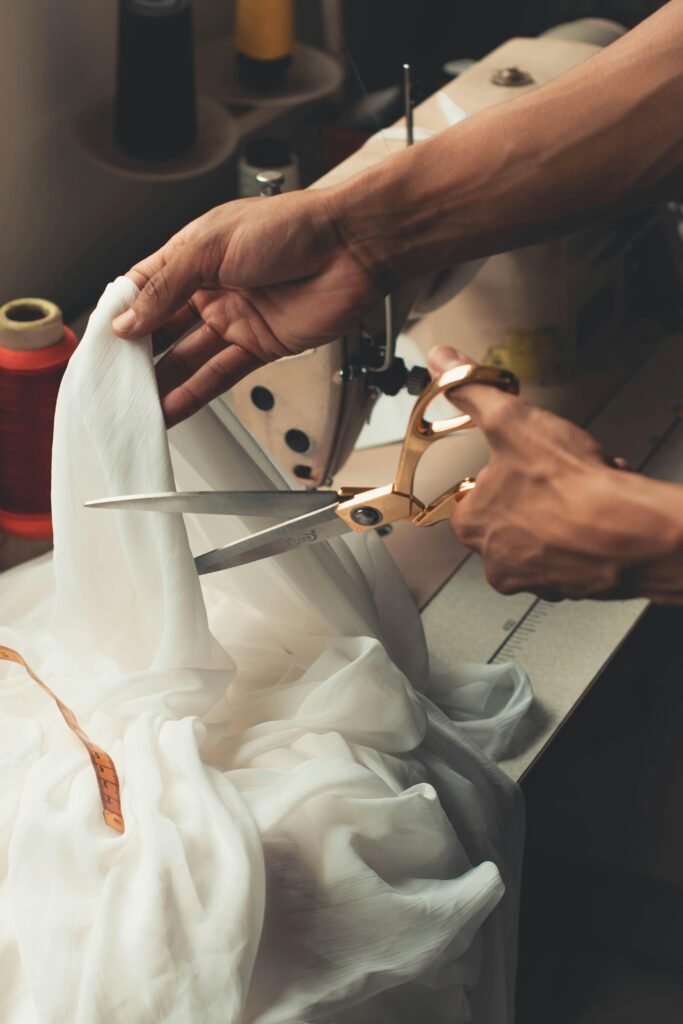
10. Garment Construction (Final Stitching)
Now comes the actual making of the garment.
Process includes:
– Cutting fabric using patterns
– Stitching and assembling
– Adding trims, zippers, buttons
– Finishing techniques
Quality matters here:
– Clean seams
– Proper fitting
– Professional finishing
This is where your vision finally takes physical form.
11. Finishing, Styling & Presentation
A garment is not complete until it is presented well.
Final steps:
– Ironing and finishing
– Styling (accessories, footwear)
– Photoshoot or display
This is especially important for:
– Portfolio
– Fashion shows
– Brand launches
Presentation can elevate even a simple design.
12. Collection Development (For Advanced Designers)
If you’re working on a full collection:
– Ensure consistency across designs
– Maintain a common theme
– Balance colors, silhouettes, and fabrics
A strong collection tells a cohesive story, not random designs.
Common Mistakes Students Make
Let me be honest—these are very common:
Skipping research and jumping into sketching
– Ignoring fabric properties
– Poor finishing
– Overdesigning without purpose
– Not understanding the target audience
Good design is not about doing more—it’s about doing what’s necessary with clarity.
Final Thoughts
The journey from concept to garment is a blend of:
– Creativity
– Technical knowledge
– Patience
– Observation
There is no shortcut.
If you truly want to grow as a fashion designer, focus on understanding the process, not just the final outcome.
Because in the end, a great garment is not just made—it is thought through, refined, and carefully constructed step by step.